Chapter 1 - Install the Linux Operating System
The first step is to install the Linux-based operating system. Nothing special is required here, the LAMP stack will run on any typical distribution; we are using CentOS 6.4. Red Hat Enterprise Linux, Oracle Enterprise Linux, or Scientific Linux are all equivalent as far as this document is concerned. They differ in terms of support contracts and availability of media and documentation, but technically they are the same. Red Hat 5 is also largely similar as far as this document is concerned, but Red Hat 6 is a more up-to-date alternative if you can get it. We will do a basic "minimal" OS installation, using a disk layout suitable for a LAMP server.
Then we will secure and configure the OS as necessary.
First, install the DVD-ROM into the drive, or present it via VMWare, VirtualBox or whatever virtualisation is being used. On booting, you should get the Red Hat boot screen.
Branding
Here I'm using CentOS; the only difference is the branding, all of the actual software is identical.If you don't get this screen, go into the BIOS (or UEFI) and check the boot device order.
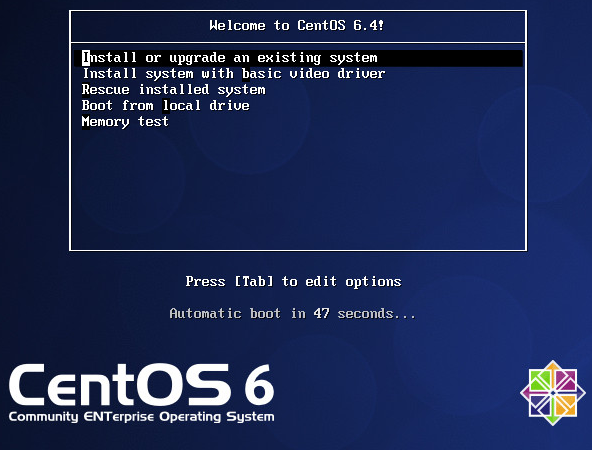
Choose "Install or upgrade an existing system". If you choose the text-based installer, you will not be able to set up an LVM-managed disk configuration, so choose the default graphical installation if possible. For a minute or so, a a black-and-white screen shows the installer starting up:
Loading vmlinuz.....
Loading initrd.img .......................
This is followed by lots of scrolling text as various parts of the system are initialized. Then you will be offered the opportunity to check the integrity of the media you are about to install from. This used to be a very useful facility, particularly when burnable media was new, and internet connections were particularly unreliable. It can be worth doing, particularly if you are not certain of the quality of the media you are using. Otherwise, you can skip this stage.
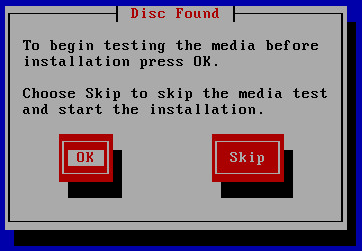
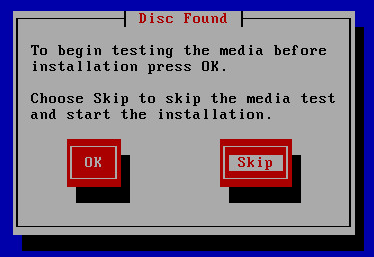
Press the <TAB> key to highlight the "Skip" button, and press either Enter or the space bar to select the option you want. Since there are only two choices here, it can be hard to tell which is the highlighted option - the first screenshot shows "OK" highlighted, and the second shows "Skip" highlighted.
At this point, assuming you have chosen the default graphical install option, the display may flicker for a short while as it detects your hardware and determines a suitable (probably not optimal, but at least workable) resolution for your graphics device. Shortly afterwards, you should see the CentOS (or Red Hat) welcome screen.
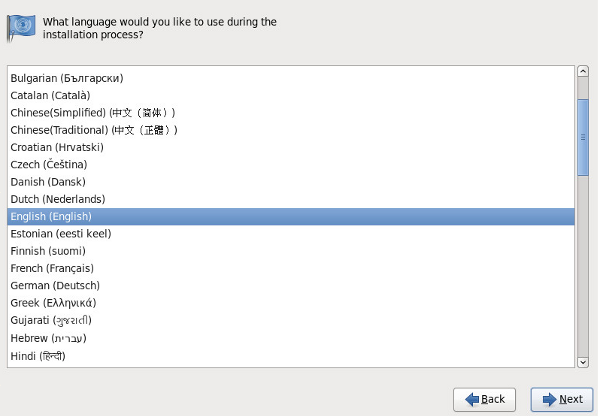
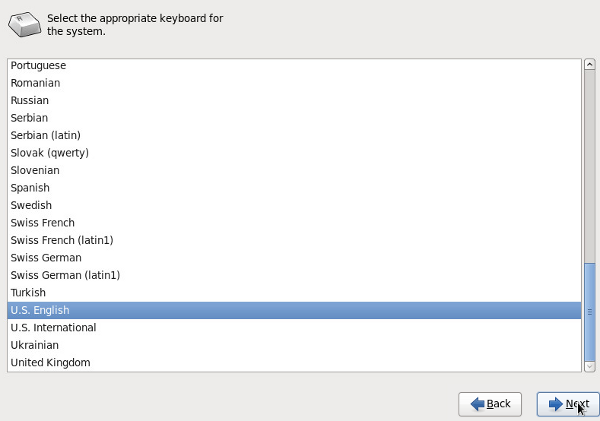
Choose a Language
Click Next, and go on to select your preferred Language and Keyboard layout. Press Back and Next to navigate between the different screens.
Storage Selection
Next comes the first part of the Storage setup of the installation routine. This detects available storage devices, and formats them if necessary. Don't worry; it will always provide you with information about devices and ask for confirmation before formatting anything. If you are doing a test install on a dedicated machine, it is fine to go with the default. Otherwise, take particular care at this stage of the installation.
First, the installer checks the state of all disks it can find. The first part of this requires you to tell the installer what type of devices you will be installing onto. If you are unsure, "Basic Storage Devices" is almost certain to be the right answer. If you need the SAN options, then the actual process will be specific to your environment, and you will likely have existing procedures in place for performing Operating System installations onto those devices.

The installer will detect the disks available, and may well warn about the state of new, unformatted disks. In this example, I have presented it with a blank VMWare virtual disk, which - for all the installer knows - could be something important that it simply failed to recognize, so it plays safe and asks you what to do with the disk.
Take Care!
If SAN devices may be mapped to the system, be very careful before clicking on "Yes, discard any data", and extra care before doing so with the "Apply my choice to all devices with undetected partitions or filesystems" box checked!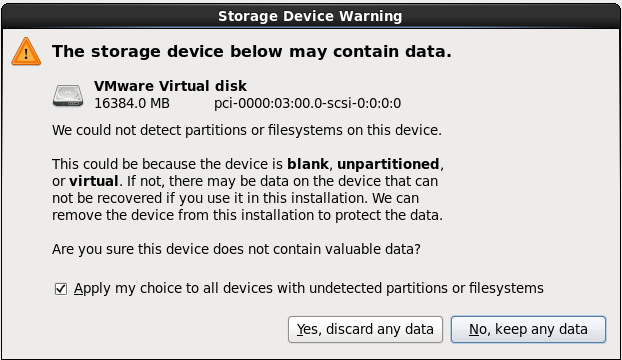
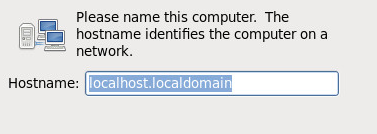
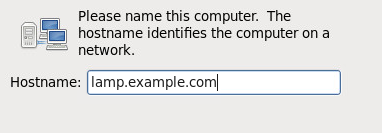
Host Name
At this stage, the installer takes a short break from the storage setup, and asks you to provide a name for the server. The default of localhost.localdomain is not very descriptive; I have named this server as lamp.example.com.
If you want to set up a static IP address, this is also the place to do that. Click the "Network" button (not shown here) at the bottom of the same screen, and you can set an IP address, network gateway, and so on. It is very easy to change the network configuration later by editing a couple of text files, so instead we will show how to set up your networking preferences once the installation has completed.
Timezone
The installer next asks to set the timezone. I will go with the default of "New York". It is easy to click around the world and select a city for your own timezone, or choose it from the provided menu. Click "Next" when done.
Timezone
Note that you will not necessarily see your exact location listed; For example, UK-based users should choose "London", regardless of where in the UK they actually are, since that is the city associated with the timezone.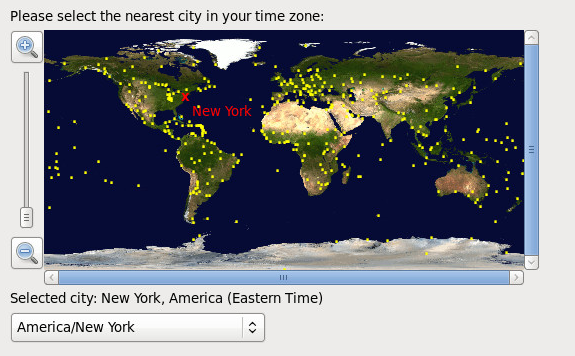
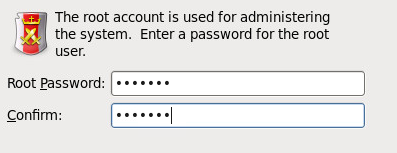
Root Password
Next, the installer prompts you to choose a root password. This will be used to log in to the system once the install is complete. Enter the password twice to ensure that there are no accidental typing mistakes. Do not forget this password; although it is possible to recover without the password, it is better not to have the inconvenience!
Storage Configuration
Finally, we get to the disk layout.
Dual Boot
If you are setting up a dual-boot system, ensure that there is sufficient free space for this operating system, and partition accordingly. (The detail of setting up dual-boot systems is beyond the scope of this book).It is highly recommended that you use an LVM (Logical Volume Manager) configuration as discussed here. Ideally, you will have a mirrored system, either via a hardware RAID device, some underlying RAID at the virtualization layer, or using LVM mirroring in software. What we show here is an unmirrored LVM setup (a typical setup if the underlying storage is itself mirrored). This gives you the flexibility to resize filesystems as required later on.
Long-Term View
Not being able to resize your filesystems can cause major headaches in the future. LVM provides flexibility and is supported out-of-the-box in the Red Hat (and therefore CentOS too) installer.Here, we will choose "Create Custom Layout" to customize our storage layout to suit the requirements of a LAMP server.
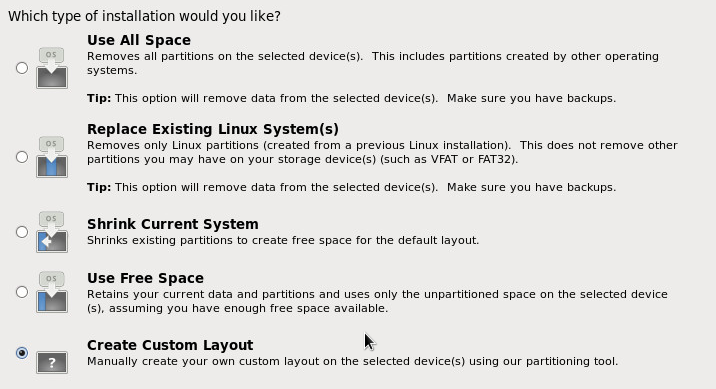
The disk configuration we will use here is shown for reference in this table. This test server has a 16Gb root disk. The /boot filesystem will go in a partition of its own (sda1) and the rest of the disk will make up a LVM Physical Volume, which contains four Logical Volumes (/, swap, /var/www and /var/lib/mysql).
| Mount Point | Size | Notes |
|---|---|---|
| /boot | 200 Mb | On sda1 - can't be under LVM |
| / | 6 Gb | The Operating System itself |
| swap | 1 Gb | Virtual Memory |
| /var/www | 2 Gb | Web Server files |
| /var/lib/mysql | 6 Gb | MySQL Database files |
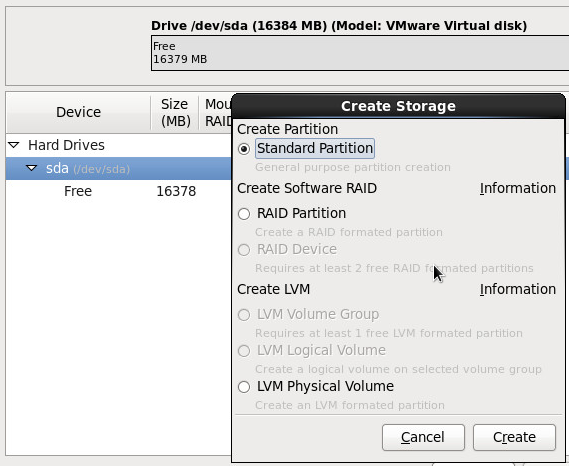
First of all, select the sda disk device, then select Standard Partition and press Create. Although we will be using LVM for the main storage, the /boot filesystem has to be on a regular partition, so we will create this first.
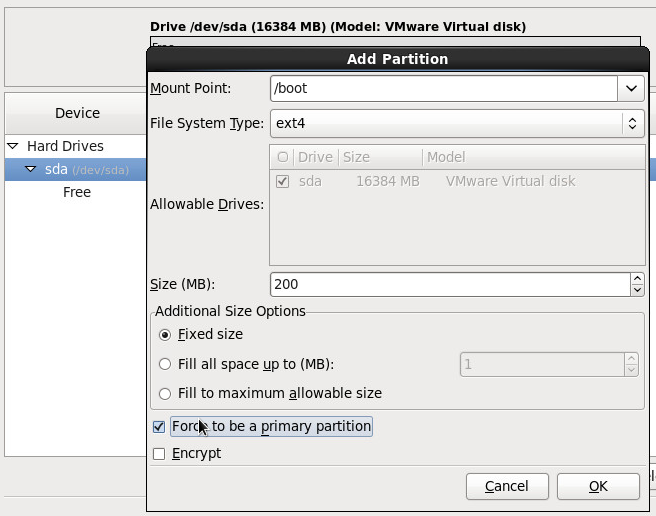
Set the mountpoint of the partition as /boot. You may want to give it more than the default 200Mb here (each kernel typically takes around 30Mb). Do select the "Force to be a primary partition" option - the /boot partition is the section of disk that the bootloader uses, and many systems will only boot from a primary partition.
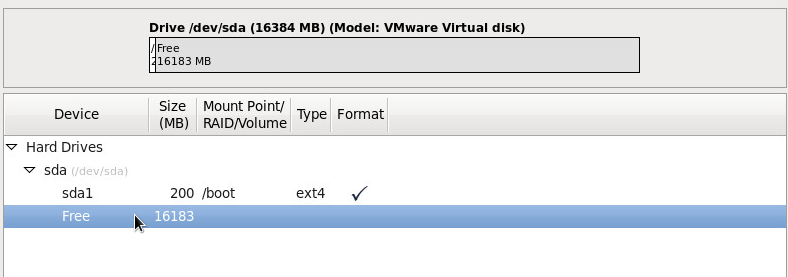
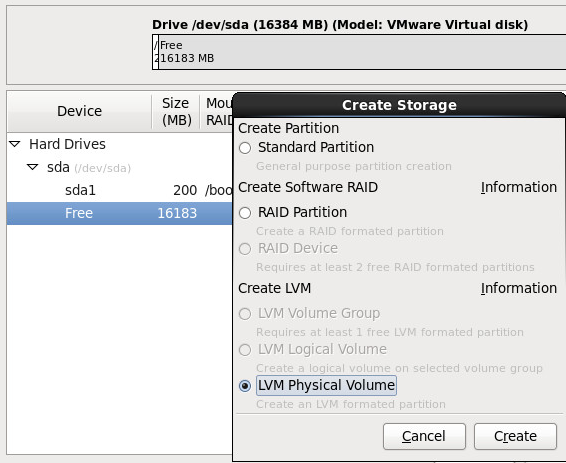
Next, select the "Free" space, and click Create.
Now, we will create an LVM Physical Volume out of the rest of the drive. (This is not actually a whole physical disk; what we are doing is telling it to treat this partition as if it was a single physical disk so that LVM will manage it in that way). This partition can then contain many volumes, each with its own filesystem, which can be (relatively) easily resized later.
Select LVM Physical Volume and press Create.
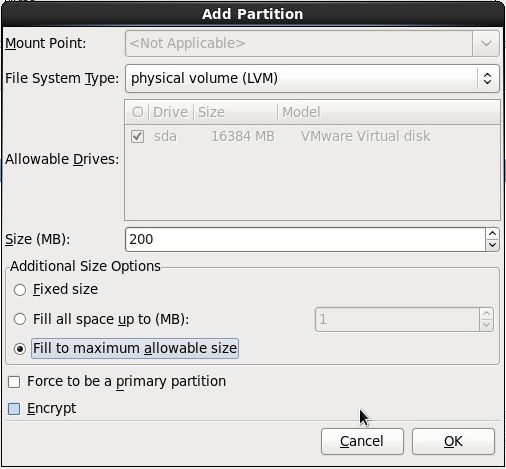
If you select the option "Fill to maximum allowable size", this Physical Volume will take up the rest of the disk (/dev/sda here, or whatever device's "Free" area we chose from in the previous step.) In this case, we want to use the whole disk, so we will choose that option and the nominal 200Mb size will be ignored, instead using the rest of the disk for this LVM physical volume.
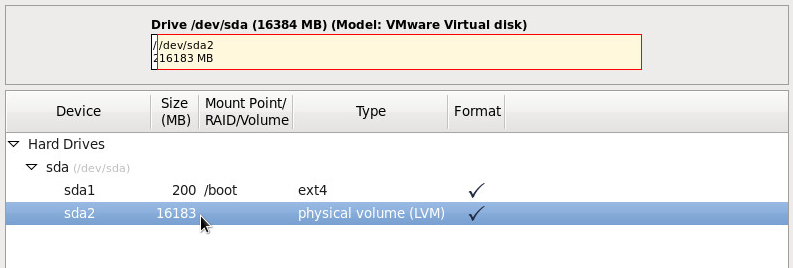
Now choose the newly-created sda2 partition, labeled "physical volume (LVM)", and press Create. We will start creating volumes and filesystems within that LVM partition.
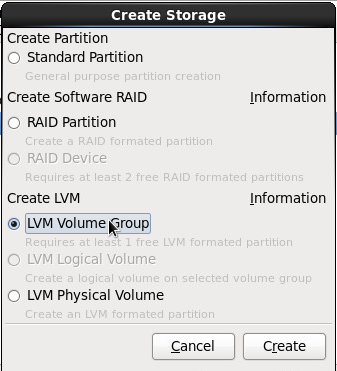
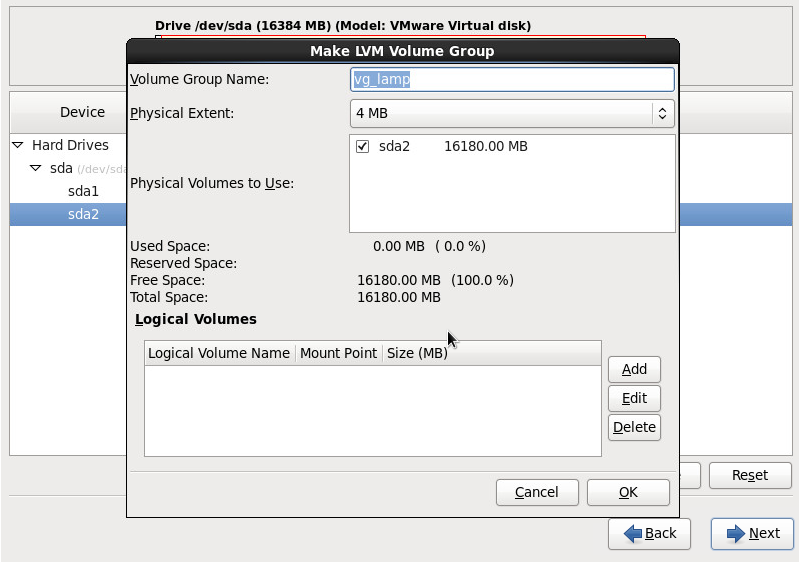
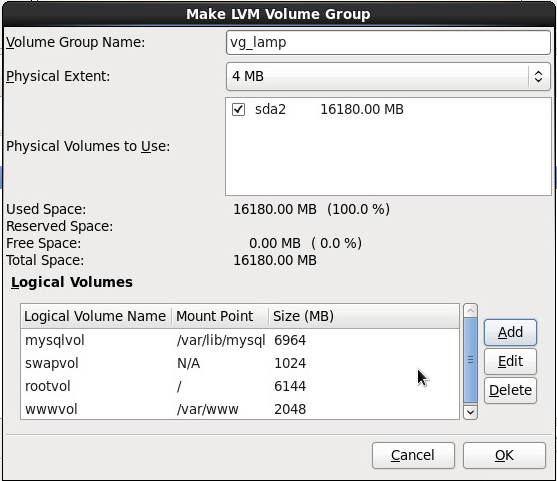
Some new options are available now - we will set up a new Volume Group which will contain four Volumes (root, swap, web and database). Select LVM Volume Group and click Create.
We will call our Volume Group "vg_lamp" - this is set by default to whatever hostname you chose earlier in the install process, but you can call it whatever you want. Move down to the "Logical Volumes" section of the dialog box, and click on Add.
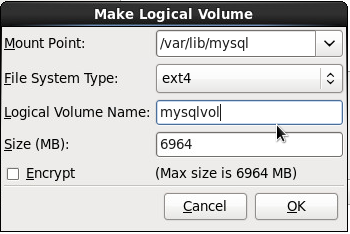
We can now define our first Logical Volume, and the filesystem to go on it. This will be the root volume; the Red Hat installer suggests a name for the volume, which you can use, but it is generally more useful to give it a more descriptive name. Here I will call it "rootvol", and assign 6Gb (6144 Mb) to it. That should be plenty; the "minimal" software install that we are going to choose takes less than 700Mb. The root filesystem contains any files which don't get their own dedicated filesystem. Data is normally put on a separate filesystem, so normally the biggest factor in deciding the size of the root filesystem is what software is going to be installed - for guidance, a graphical environment typically takes a few gigabytes.
/home (users' personal files) or /var (system logs) filesystems, those could also potentially fill up our root disk.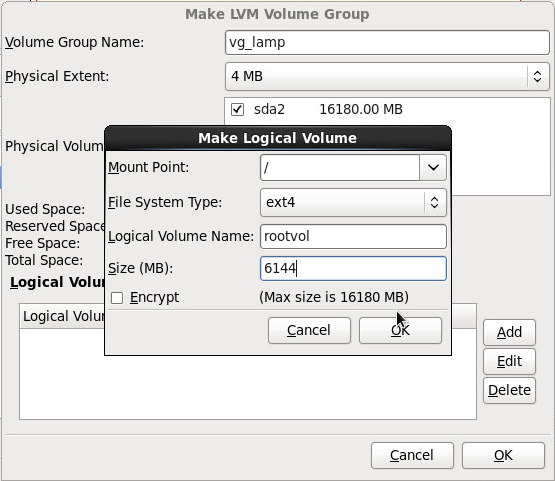
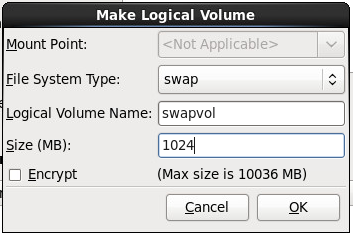
Next, we define a swap Logical Volume. Swap space is what the system uses if it runs out of physical memory; for a small web server 1 or 2 Gb (1024 or 2048 Mb) is likely to be sufficient. Because this is part of the LVM Volume Group, this can be resized later if necessary.
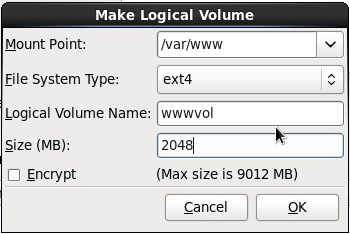
For the web server's data files, Red Hat uses the /var/www directory by default. By providing a dedicated filesystem for this, we can ensure that:
- The web server's file system filling up will not affect the rest of the system, and
- The root filesystem filling up will not affect the web server's data store (although it may affect the smooth running of the overall system).
2 Gb for /var/www will be more than enough space for the purposes of this document, and is likely to be enough for most single-site web servers.
Apache stores its configuration files in /etc/httpd, but these do not take up a large amount of space, and can be considered to be part of the Operating System configuration, so leaving those in rootvol is fine.
The log files for Apache go into /var/log/httpd. These could become large over time. To properly configure a production system, a dedicated filesystem for /var/log/httpd should be considered. The logrotate tool can also be useful in managing system log files; it has an entry for the Apache web server in /etc/logrotate.d/httpd.
MySQL stores its data files in /var/lib/mysql. We will configure the rest of the available space (just under 7 Gb) to MySQL, since the database is most likely to be managing relatively amounts of data. The actual size needed depends entirely on what the LAMP server will be used for.
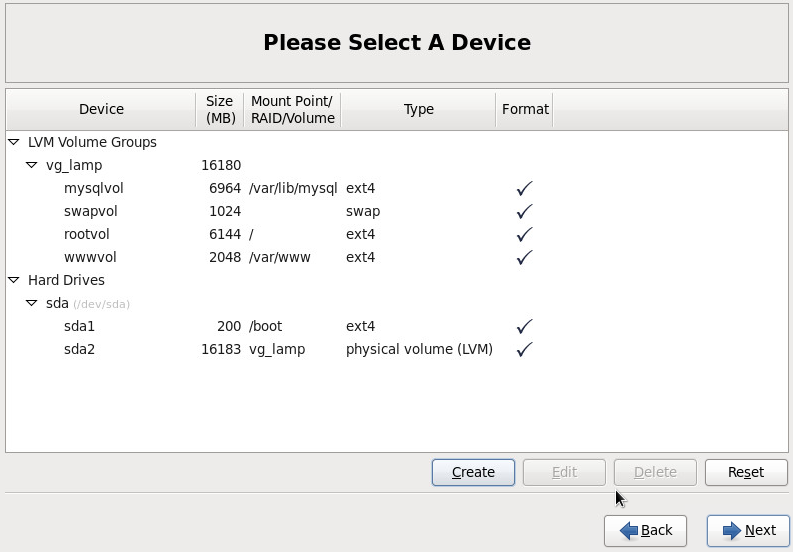
The summary screen shows the four Logical Volumes in the Volume Group. Review the summary and press OK to get back to the partitioning screen.
The partitioning screen now shows the Hard Drive and LVM Volume Group configurations that we have selected. The check mark in the "Format" column indicates which filesystems are going to be newly created; if there is no check mark in that column, the existing contents would be preserved. Check that this is all as expected, and click Next.
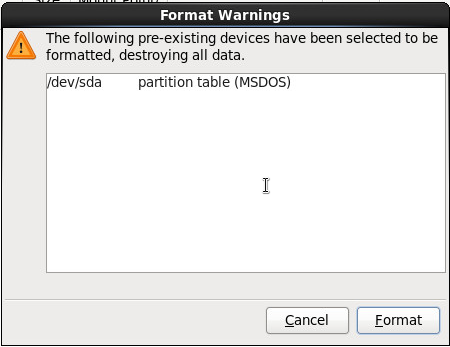
The installer gives plenty of warnings about reformatting drives. Check the list here (just one disk in this case).
Shell in Install Mode
If you press Ctrl+Alt+F2, you can get aroot shell prompt which you can use to investigate further, so you can make sure that sda is the device you think it is, mount and inspect the contents of existing filesystems, and so on. This can be a useful safety measure before committing to changing disk partition tables. Ctrl+Alt+F3 shows the installer's log file, and Ctrl+Alt+F4 shows kernel messages.
Click "Format" if everything looks right.
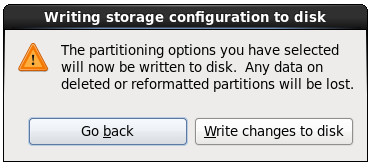
Before it actually goes ahead with laying down the new partitions, it gives you one last chance. Select "Write changes to disk" to continue.
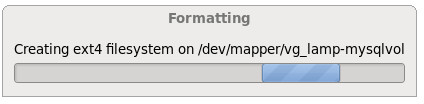
Now the disk partitions are written, the LVM configuration is created, and finally, filesystems are put onto the partitions and/or Logical Volumes that you have told it to create.
Grub Boot Loader
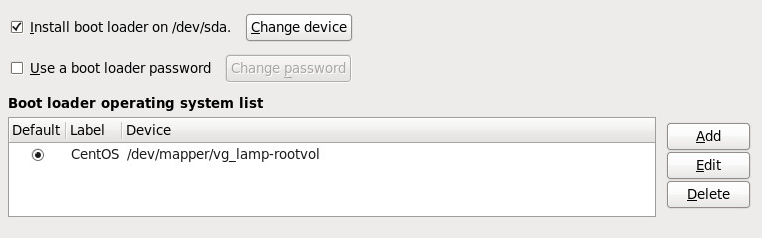
You can choose where to install the Grub boot loader. The device containing the /boot partition is normally where you would want it.
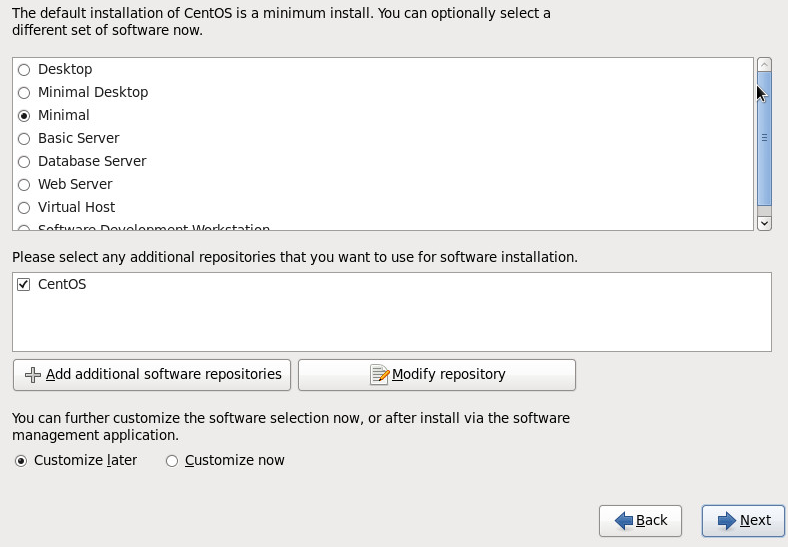
Now that the disk layout has been defined, the last thing to do is to select one from a set of predefined package groups to install. I would almost always suggest the minimal install; you can always add what you need later on. That way, you can be confident that you know what packages are installed; the Red Hat 6 DVD contains over 6,000 packages, but our minimal install will have only 211 packages initially. That is a much more manageable and auditable configuration.
Click "Next" to continue.
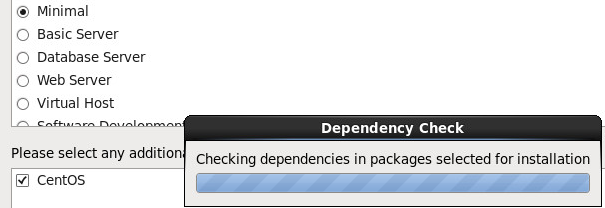
Select Software
Just in case you had chosen to customise the selection, the installer now checks for any dependencies. For example, if you'd chosen to install the gcc compiler collection, it would detect that the C Preprocessor, the OpenMP and Loop Generator libraries are also required.
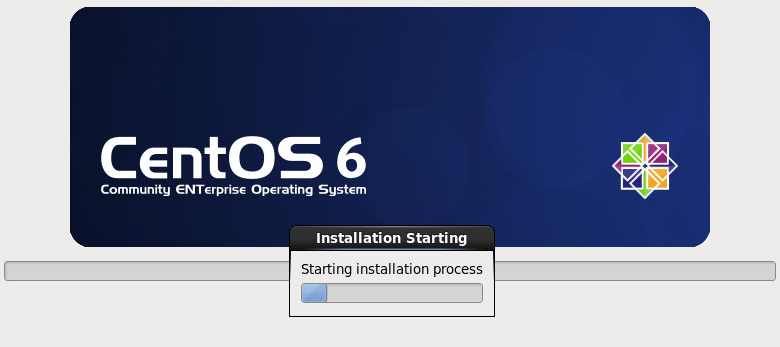
Installation of Packages
Finally, the installation of packages will start. The installer will spend a short while preparing the system for the installation itself.
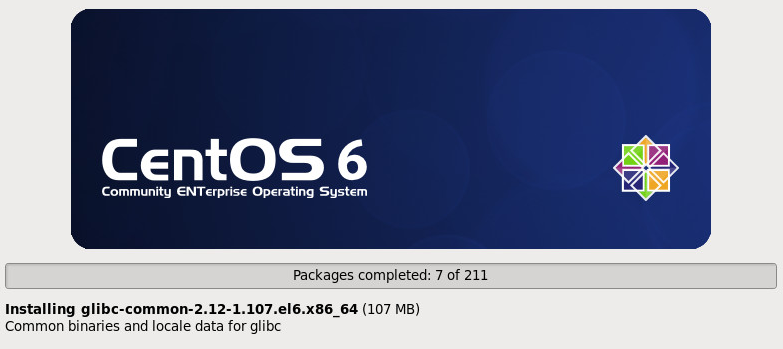
Then it is just a case of sitting back and watching progress as each package gets installed in turn.
Reboot
Eventually, the "installation is complete" screen will be displayed.
Click on "Reboot"; your system will be cleanly restarted.
Remove the Boot DVD
If necessary, make sure that the installation disk is removed before it boots from it, otherwise you will end up starting the whole thing again! If that does happen, you can safely reset the machine, nothing of your completed installation will be damaged.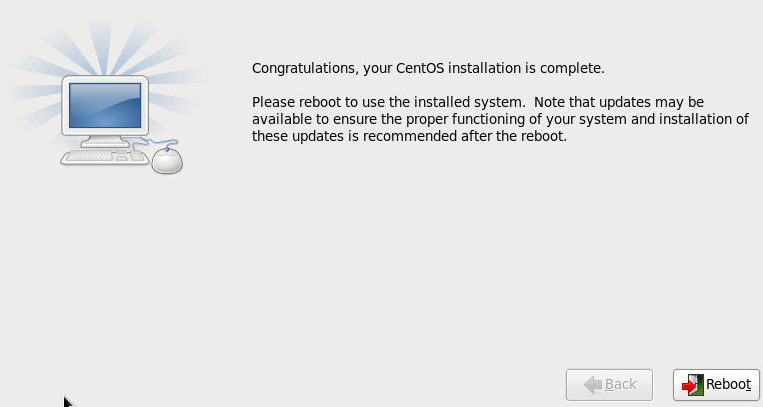
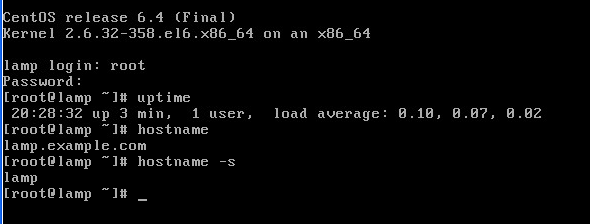
At the "lamp login: " prompt, enter the username "root" and press Enter. The "Password: " prompt will be displayed; type in the password that you defined earlier in the installation process, and press Enter again. You should get the root prompt:
[root@lamp ~#]