Installing Solaris 10 in the Free VMWare Player
This HOWTO is provided in the hope that it will be useful. You know the drill. If you blow up your machine, it's not my fault.This is a Windows XP host OS, running a Solaris 10 Guest OS. Most of this is also relevant for running any OS under any other OS, but these details are based on a Dell D610 running Windows XP, with a Solaris 10 Virtual Machine.
First, download Qemu from http://fabrice.bellard.free.fr/qemu/.
Here, I have extracted it to my D: drive.
Now run qemu as follows to create a 10Gb virtual disk:
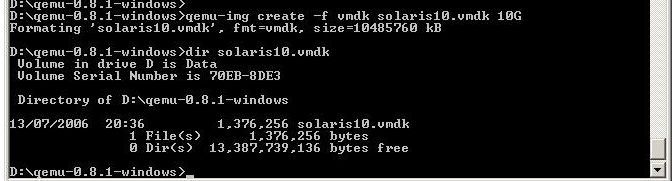
qemu-img create -f vmdk solaris10.vmdk 10GThis will create a disk image - a file, initially sized about 1.4Gb (it may grow up to 10Gb if you fill it up). If you want a different size, just specify the size you want the virtual disk to be in the command line. Similarly, choose whatever .vmdk filename you want.
You may now delete Qemu if desired.
Now create a solaris10.vmx file. This is mine:
config.version = "8"
memsize = "300"
mainMem.useNamedFile="FALSE"
ide0:0.present="TRUE"
ide0:0.fileName="solaris10.vmdk"
ide1:0.present="TRUE"
ide1:0.fileName = "auto detect"
ide1:0.deviceType="cdrom-raw"
ide1:0.autodetect="TRUE"
floppy0.fileName="/dev/fd0"
floppy0.startConnected="FALSE"
ethernet0.present="TRUE"
ethernet0.connectionType = "nat"
ethernet0.virtualDev = "e1000"
sound.present="TRUE"
sound.virtualDev="es1371"
pciSound.enableVolumeControl="FALSE"
displayName="Solaris 10"
guestOS="solaris10"
nvram="Solaris 10.nvram"
usb.present="TRUE"
log.fileName=solaris.log
paevm="TRUE"

ide0:0.redo = ""
ethernet0.addressType = "generated"

tools.remindInstall = "TRUE"

usb.autoConnect.device0 = "path:1/1/0 autoclean:1"
Note the
memsize="300" line. This only gives it 300mb of RAM; you may want to give it more, particularly if you plan to use the GUI.You now have a disk and an OS. Good, eh? Now what do you do with it?
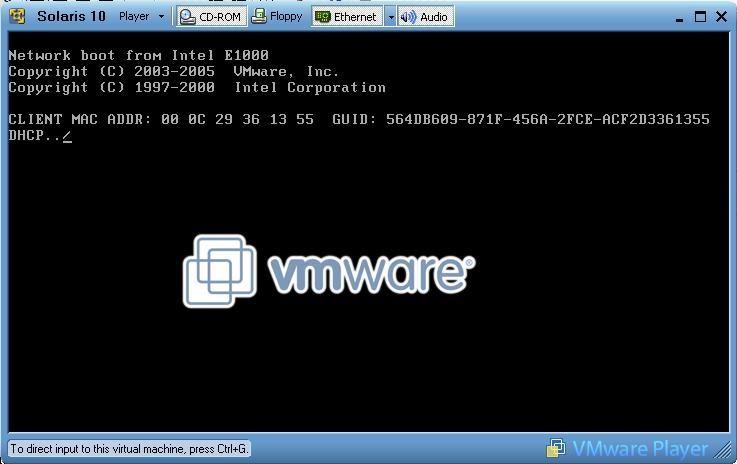
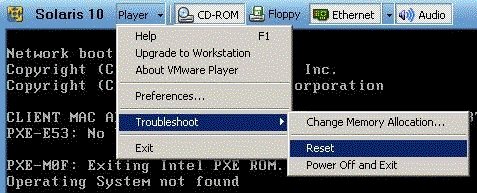
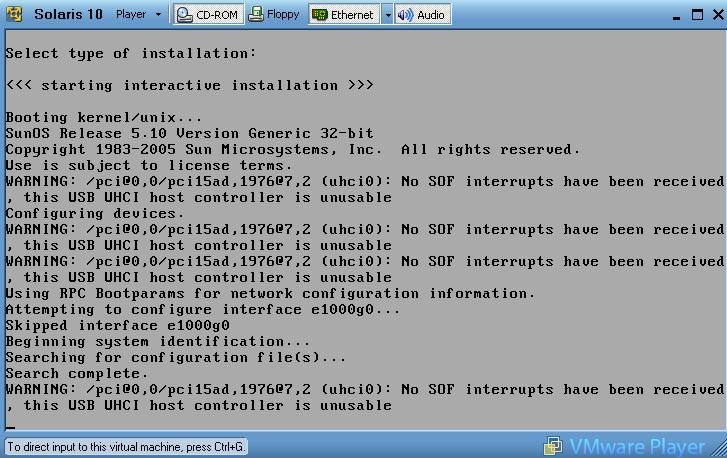
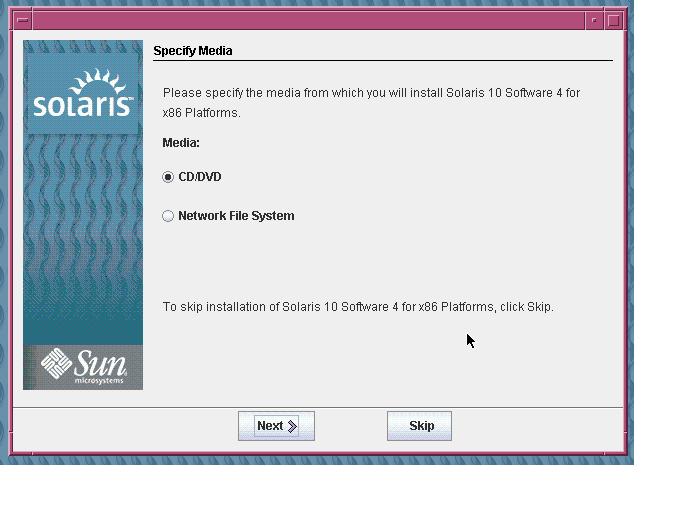
Fire up the VMWare Player, and point it at your solaris10.vmx file. It will try to boot from the network, and fail. Insert the Solaris 10 CD and reset. (Player -> Troubleshoot -> Reset)
You will see some UHCI errors on a Dell 610:
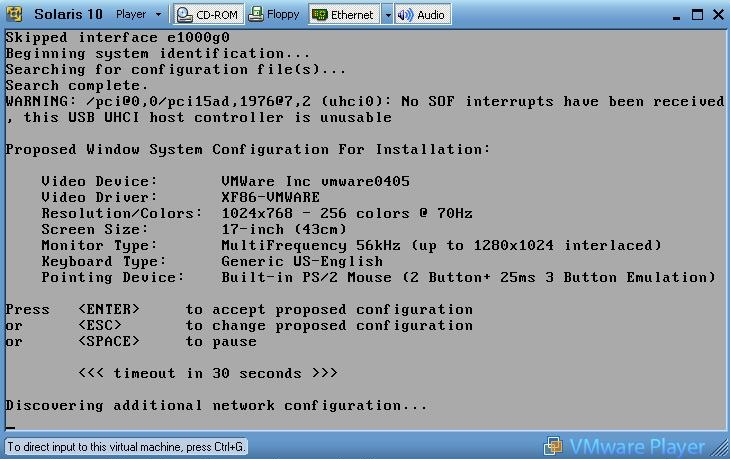
Go with the default display settings for now - you can tweak them later.
To toggle between the Virtual machine and Windows, you press Ctrl-G (or double-click in the window) to get to Solaris, and Ctrl+Alt to go back to Windows.
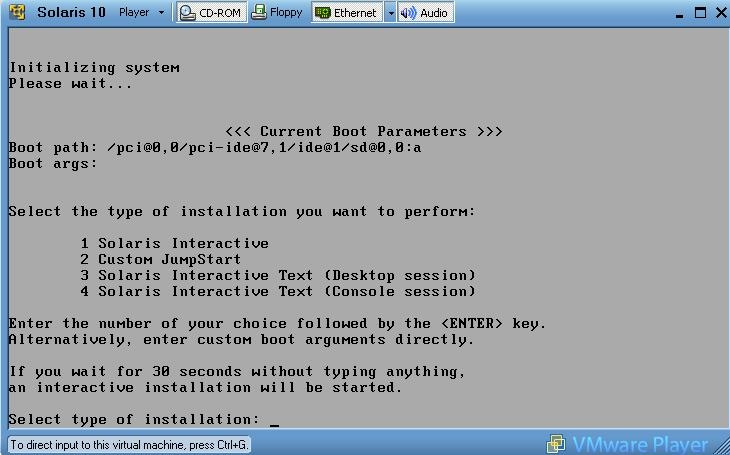
Go through a normal install, enabling DHCP for "e1000g0". I choose "Entire Distribution plus OEM support", though it seems to be the same size as without OEM support.
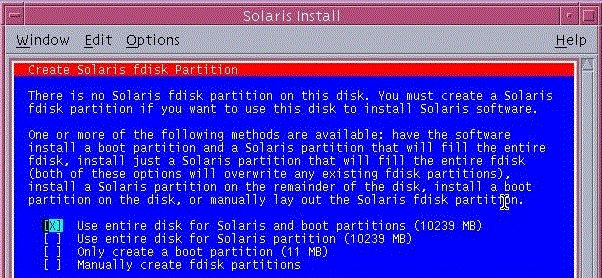
At the disk formatting point, you will get a message you don't usually see - tell it to use the entire disk for Solaris and boot partitions. It does tell you the size of the disk, so you can confirm that it's not going to blast away your Windows install!
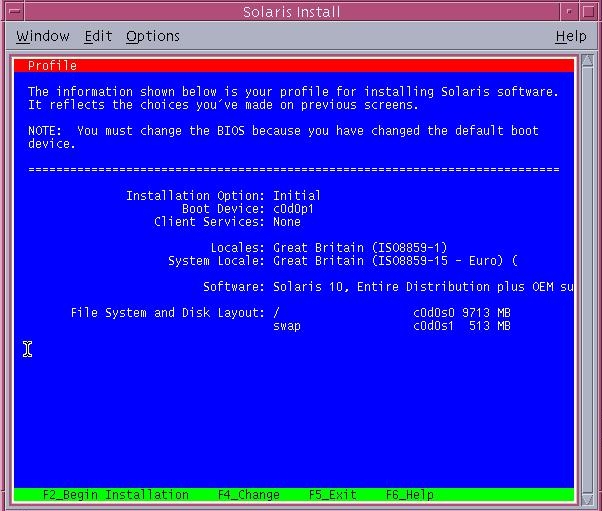
At the end of the CD1 installation, remove the CD as it reboots, boot as normal into Solaris, and insert CD 2. Go through the other CDs in the same way (is CD4 really needed?)
It would probably be quicker to do the install in text-only mode.
When changing CDs, just click "Next" at the prompt and it should spit out the CD.
Configuring X
Runkdmconfig and choose the XSun server. These settings work for me on a Dell Latitude D610: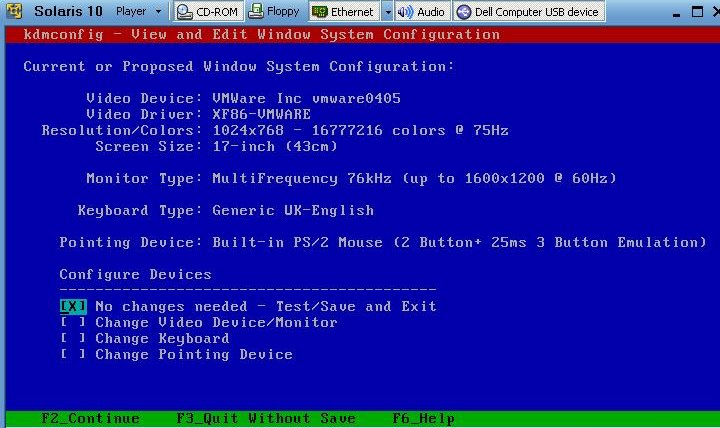
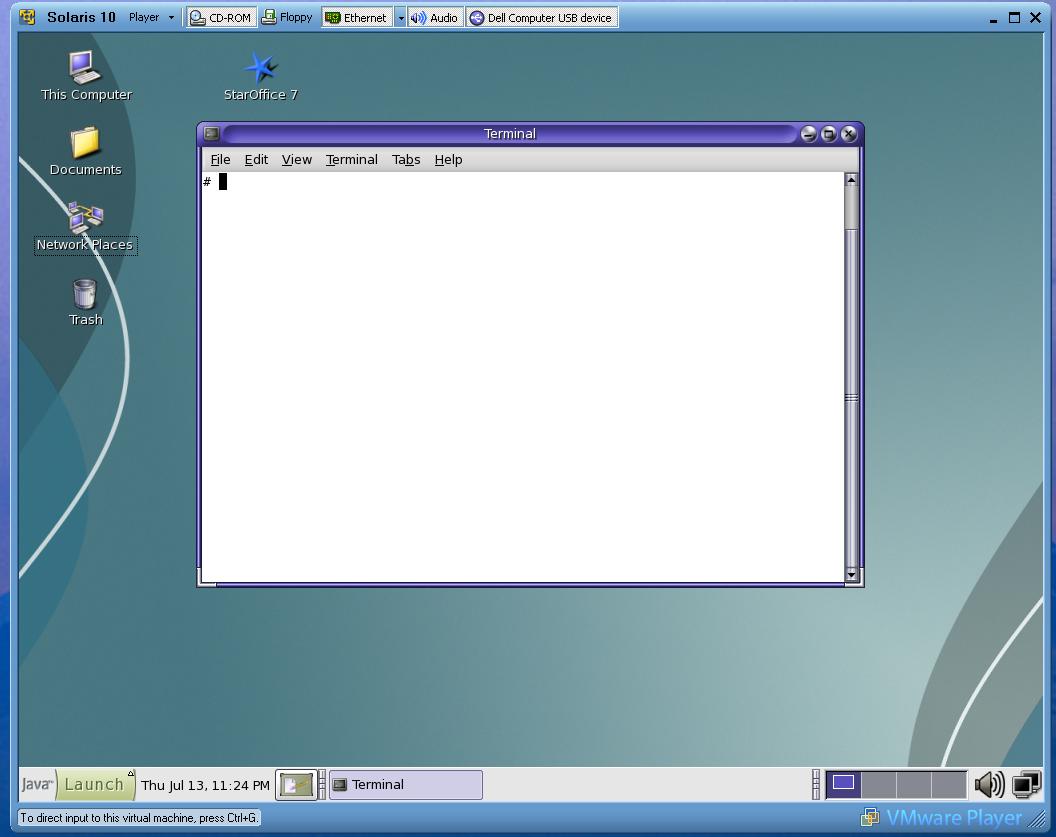
Then you can log in to JDS (or CDE, if you prefer). You might notice the new "Dell Computer USB device" item; I do not know how that appeared, I have not investigated USB, but it just appeared part way through the install. On my previous Solaris 10 GA install, it does not appear.
Now would be a good time to patch your Solaris instance.
You might also want to enable ssh; going via VMWare (even to the text console) is quite slow; it may be easier and/or quicker to access your VM via Putty. The DHCP config means that you can access the VM via IP from Windows - probably as 192.168.182.128
# vi /etc/ssh/sshd_config
	PermitRootLogin yes
# svcadm enable ssh
Better still, create yourself a non-root account, don't PermitRootLogin, and just do the
svcadm enable ssh.
Solaris under VMWare under Windows